Submitting Video Assignments with Confidence

As part of your training, we believe in practical application and self-assessment. That’s why we require you to submit videos of yourself instructing your friends the Pilates exercises you’ve learned. We understand that the idea of filming yourself might be a bit daunting, but fear not! In this blog, we’ll walk you through the process step-by-step, making it a breeze for you to shine.
Why are video assignments important?
In our comprehensive Pilates Training Program, video assignments play a crucial role in your development as an instructor. These assignments give you the opportunity to showcase your skills and understanding of the exercises to our experienced trainers. Additionally, explaining the exercises to a friend helps solidify your knowledge, allowing you to refine your communication and teaching abilities, which are vital skills for any successful Pilates instructor.
The Simple Process
Submitting your video assignments is easier than you might think. For the repertoire topics and the final assessment, you’ll be asked to upload your videos to a video hosting platform like YouTube or Vimeo. You’ll then paste the link to your video on your Assignment Submission Form in the Online Learning Platform. Rest assured, no special equipment or editing skills is required – a mobile phone with a decent camera will do the trick!
Setting up your YouTube/Vimeo Channel
For those new to video uploading, creating a YouTube or Vimeo channel is a breeze. Here’s a step-by-step guide to get you started:
Creating a YouTube Channel
- Log in to your Google account (or create one if you don’t have it – it’s free).
- Go to YouTube and click on the profile icon in the top right corner.
- Select “Create a channel,” and follow the instructions to set up your channel.
- Choose a name that represents you as a Pilates enthusiast or future instructor.
Creating a Vimeo Channel
- Go to Vimeo’s website and sign up for a free account or log in if you already have one.
- Click on “Create” in the top right corner and select “New Channel.”
- Give your channel a meaningful name and complete the setup process.
Making Your Video Public
To ensure our trainers can view your videos, make sure they are set to “public” on YouTube or Vimeo. Private videos won’t be accessible to others, which could cause delays in getting your assessment marked and receiving feedback on how you’re progressing. Here’s how you can make your video public.
On YouTube
Go to your Video Manager.
Find the video you want to make public and click the “Edit” button.
In the “Privacy” dropdown menu, select “Public” and save the changes.
On Vimeo
Go to your video in the “My Videos” section.
Click on “Settings” below the video player.
Under “Who can watch this video,” select “Anywhere” to make it public.
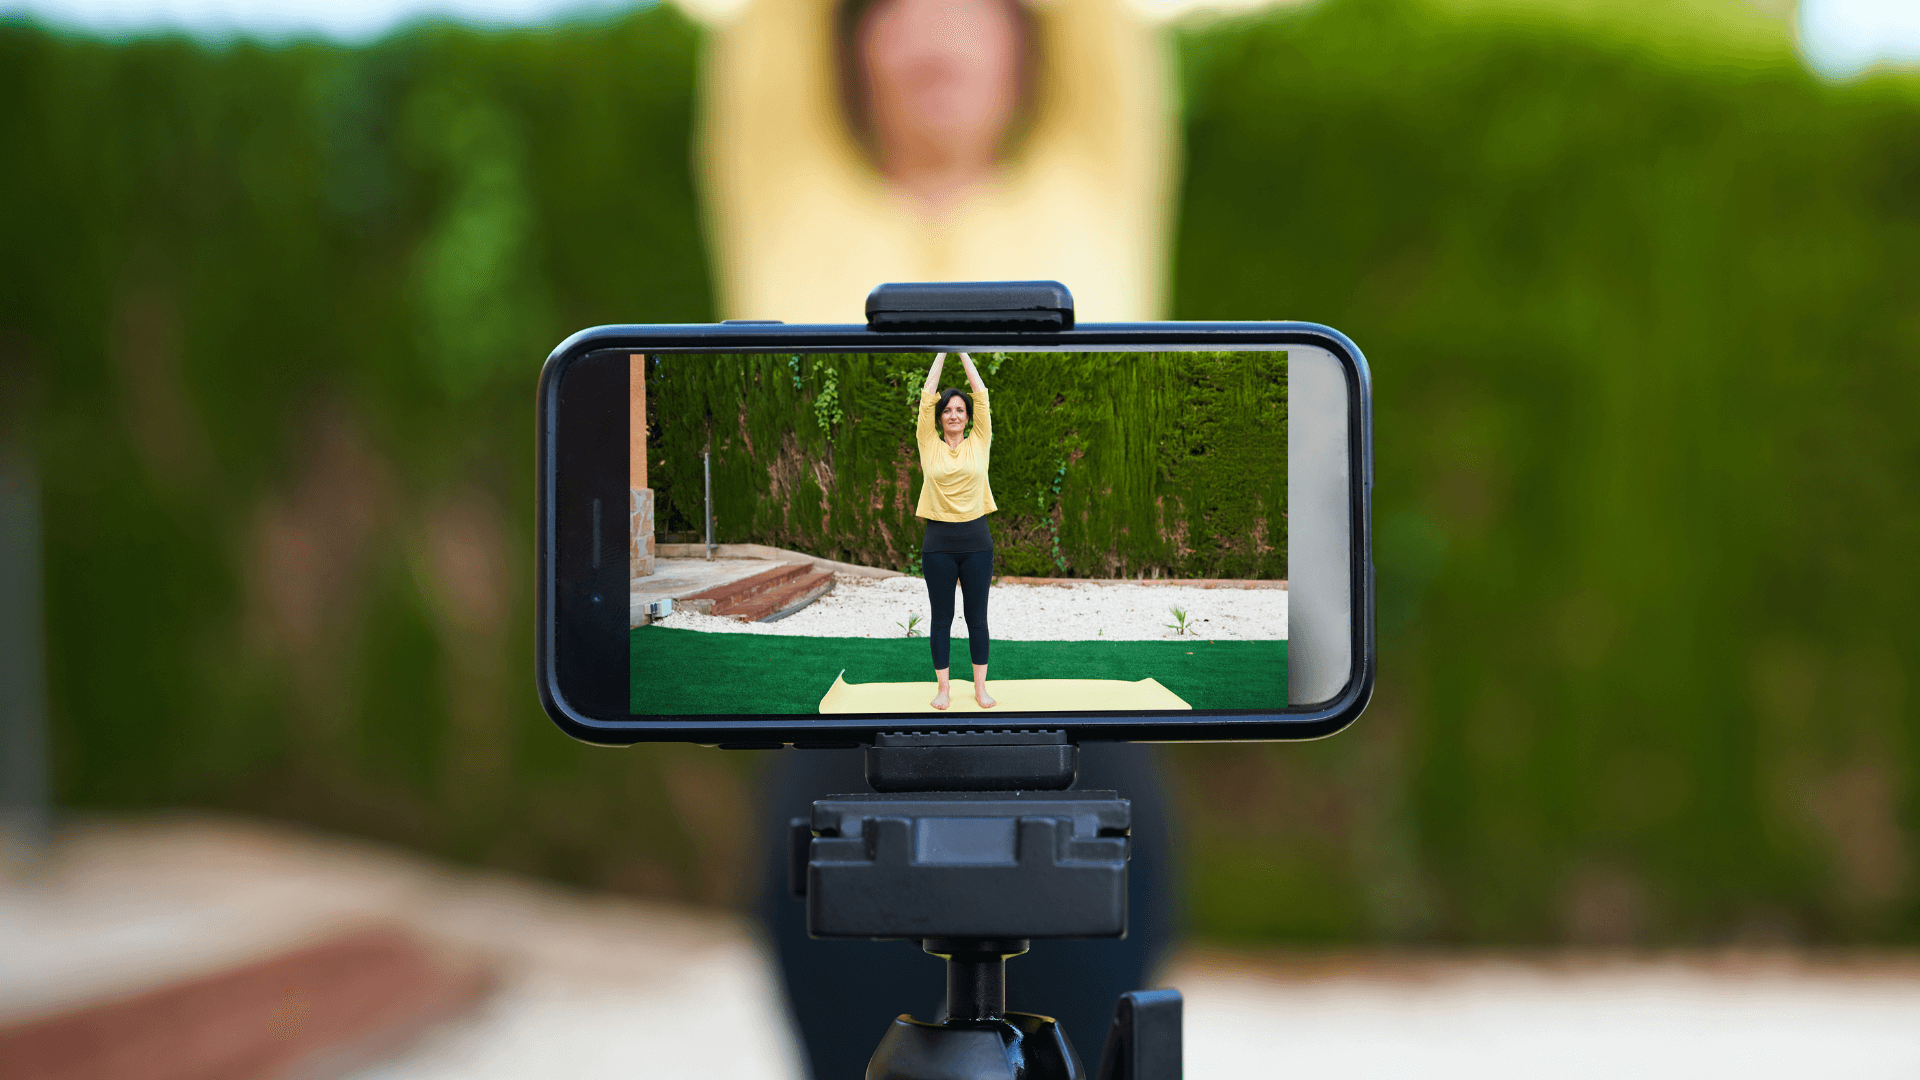
Lights, Camera, YOU!
Best Practices for Filming
Filming your Pilates exercises can be fun and rewarding. Here are some tips to help you capture the best footage possible and most importantly that you meet the marking criteria:
- Steady Camera – Use a tripod or stabilise your phone to avoid shaky footage. A steady camera ensures clear instruction and assessment.
- Adequate Lighting – Film in a well-lit room to make sure your movements are visible. Natural light or soft, even artificial lighting works best.
- Clear Audio – Speak loudly and clearly during your instructions, ensuring your voice is easily audible.
- Proper Framing – Position the camera at a suitable angle to capture all the action. It’s important that movements and ROM should be clearly visible.
- Multiple Angles – Change the angle of the camera at least once during your filming session – this is a requirement for AUSactive and will ensure that we can assess that your “client” is completing the repertoire correctly under your instruction.
- Background – A clutter-free background keeps the focus on you, the person you’re teaching and importantly the exercises.
- Time Stamp – Make sure you have a clock displayed prominently in the background so we can make sure you’re doing the video in one take. This is a requirement of AUSactive.
Additional Filming Resources
We believe in equipping our students with the best tools for success. Here are some quality resources on filming and presentation to help you create outstanding video assignments:
- YouTube Creator Academy – A comprehensive learning platform offering tips and tutorials on video creation and more.
- Vimeo Video School – A collection of video tutorials and guides to enhance your video-making skills
- Editing Tools: Basic video editing software or apps can help you trim, and enhance your video assignments. There are tools available on YouTube, Vimeo and even on your phone but you can also explore others such as Filmora, Veed among others. Please ensure your edits are limited to enhancing audio and visuals. Cutting and splicing of videos may result in a lower mark.
It's a Wrap!
Remember, video assignments are an essential part of your learning journey. Embrace the opportunity to showcase your progress, refine your skills, and gain valuable experience as you work towards becoming a certified Pilates instructor with Inspired Academy.
We hope this guide has eased any concerns you may have had about the video submission process. Embrace the process, have fun, and show us your passion for Pilates! Your journey to excellence begins now.
Keep inspiring, keep learning!
Need Extra Help?
Sometimes it good to have a quick chat with an expert to make sure you’re on the right track and to further enhance your understanding. If you need help with your video submissions, please book a call with one of our trainers and we’ll be happy to help and advise on your next steps.